> ## Documentation Index
> Fetch the complete documentation index at: https://superflow-claude-superflow-portal-docs-78gpp8.mintlify.site/llms.txt
> Use this file to discover all available pages before exploring further.
# How to Create a New Agent
> Learn how to create a new agent in Superflow.
In this article, you will learn how to create a new agent in Superflow. An agent is a reusable check that you describe in plain English, which Superflow then runs against your projects to find issues automatically. Before the agent is saved, Superflow stress-tests your instructions against sample cases so you can confirm it behaves the way you expect.
In this example, we will build a **Spell Check** agent that looks for spelling mistakes in a page.
Agents are currently in **Beta**. Each run consumes credits from your workspace balance, and the exact cost is shown before you confirm a run.
## Creating the Agent
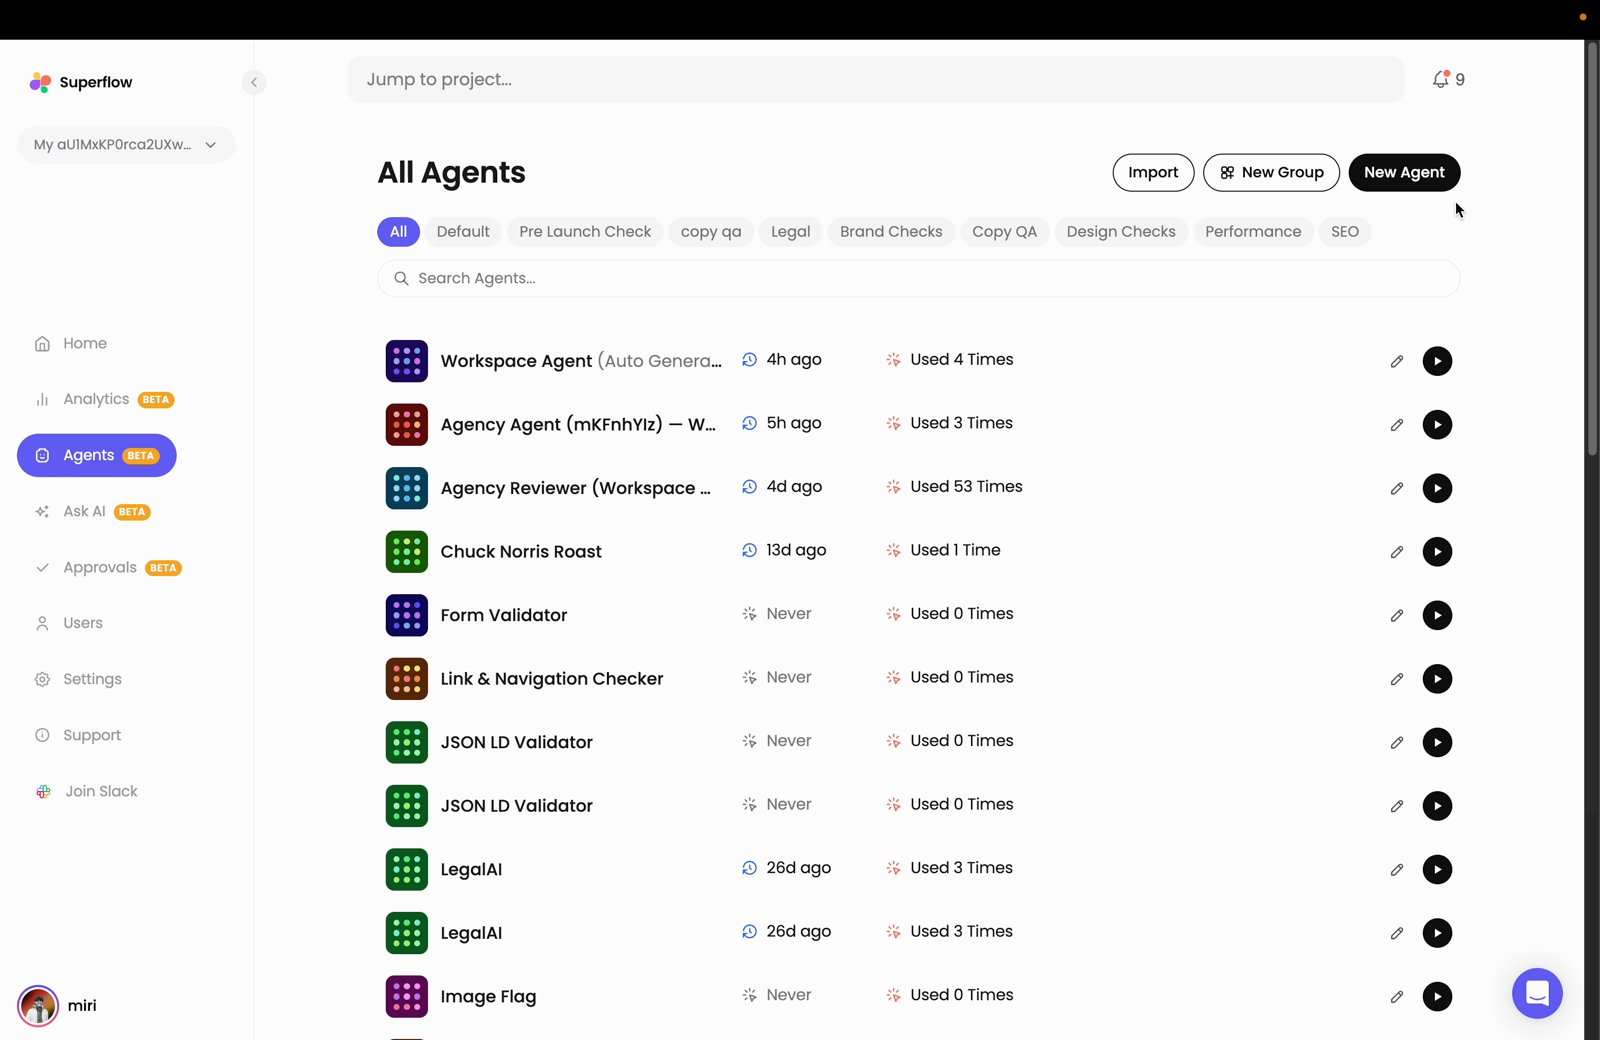
The **All Agents** page will open. Click the **New Agent** button on the upper right side.
 Enter a **Name** for your agent, then add an optional **Description** to explain what it does. A live preview of the agent card is shown on the right side. Click **Next**.
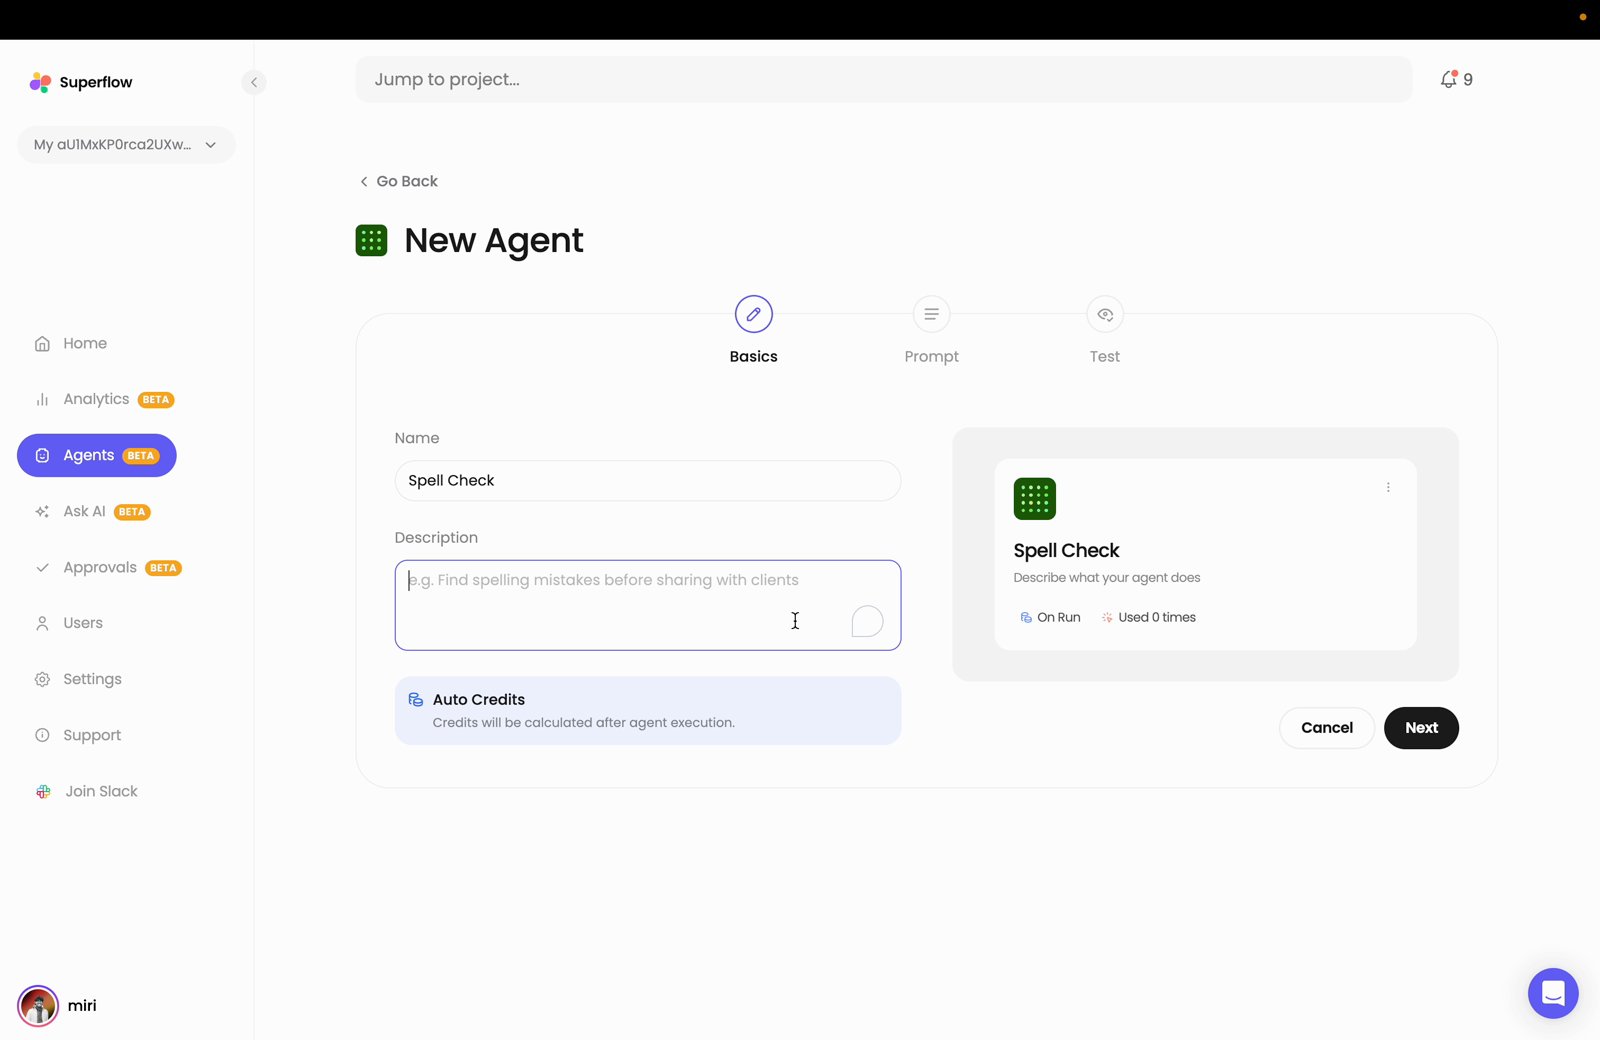 **Auto Credits** calculates credits at run time.
In the **Prompt** field, describe what the agent should check for. In this example, we will use `Make sure all the spellings in the HTML body is correct`. Click **Next**.
**Auto Credits** calculates credits at run time.
In the **Prompt** field, describe what the agent should check for. In this example, we will use `Make sure all the spellings in the HTML body is correct`. Click **Next**.
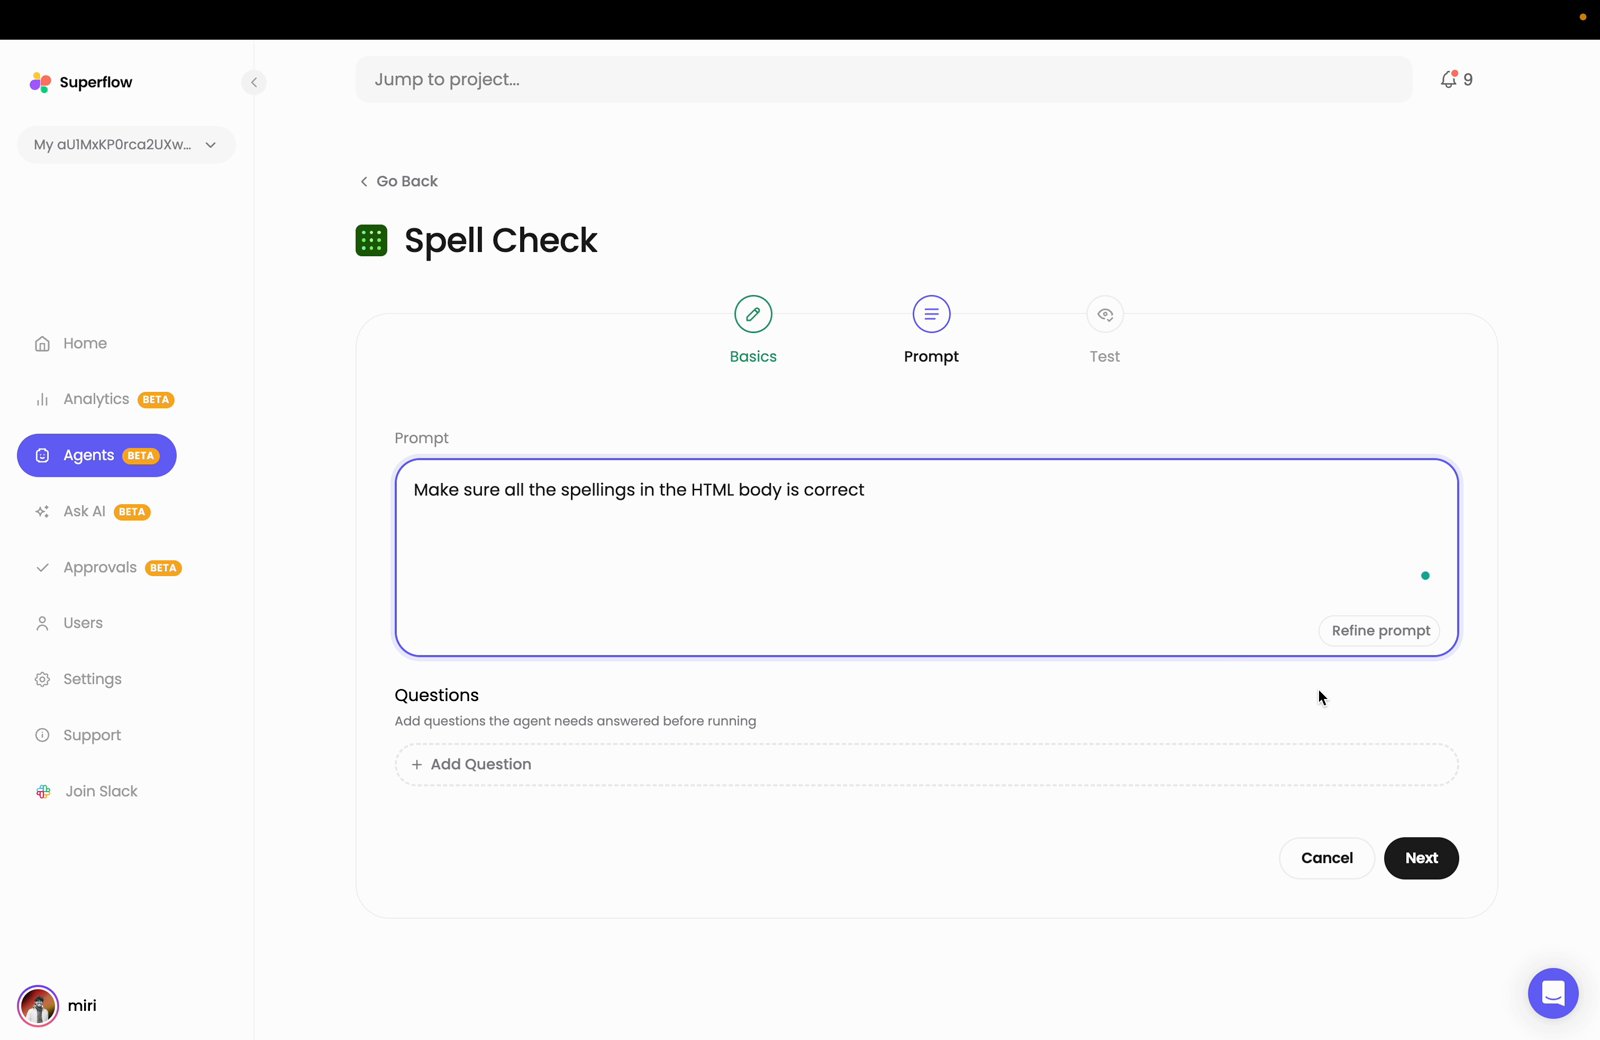 There are two optional controls on this step:
* **Refine prompt** rewrites your instruction into a clearer, more specific version.
* **Questions** lets you click **Add Question** to add questions the agent should ask at run time.
## Reviewing the Test Results
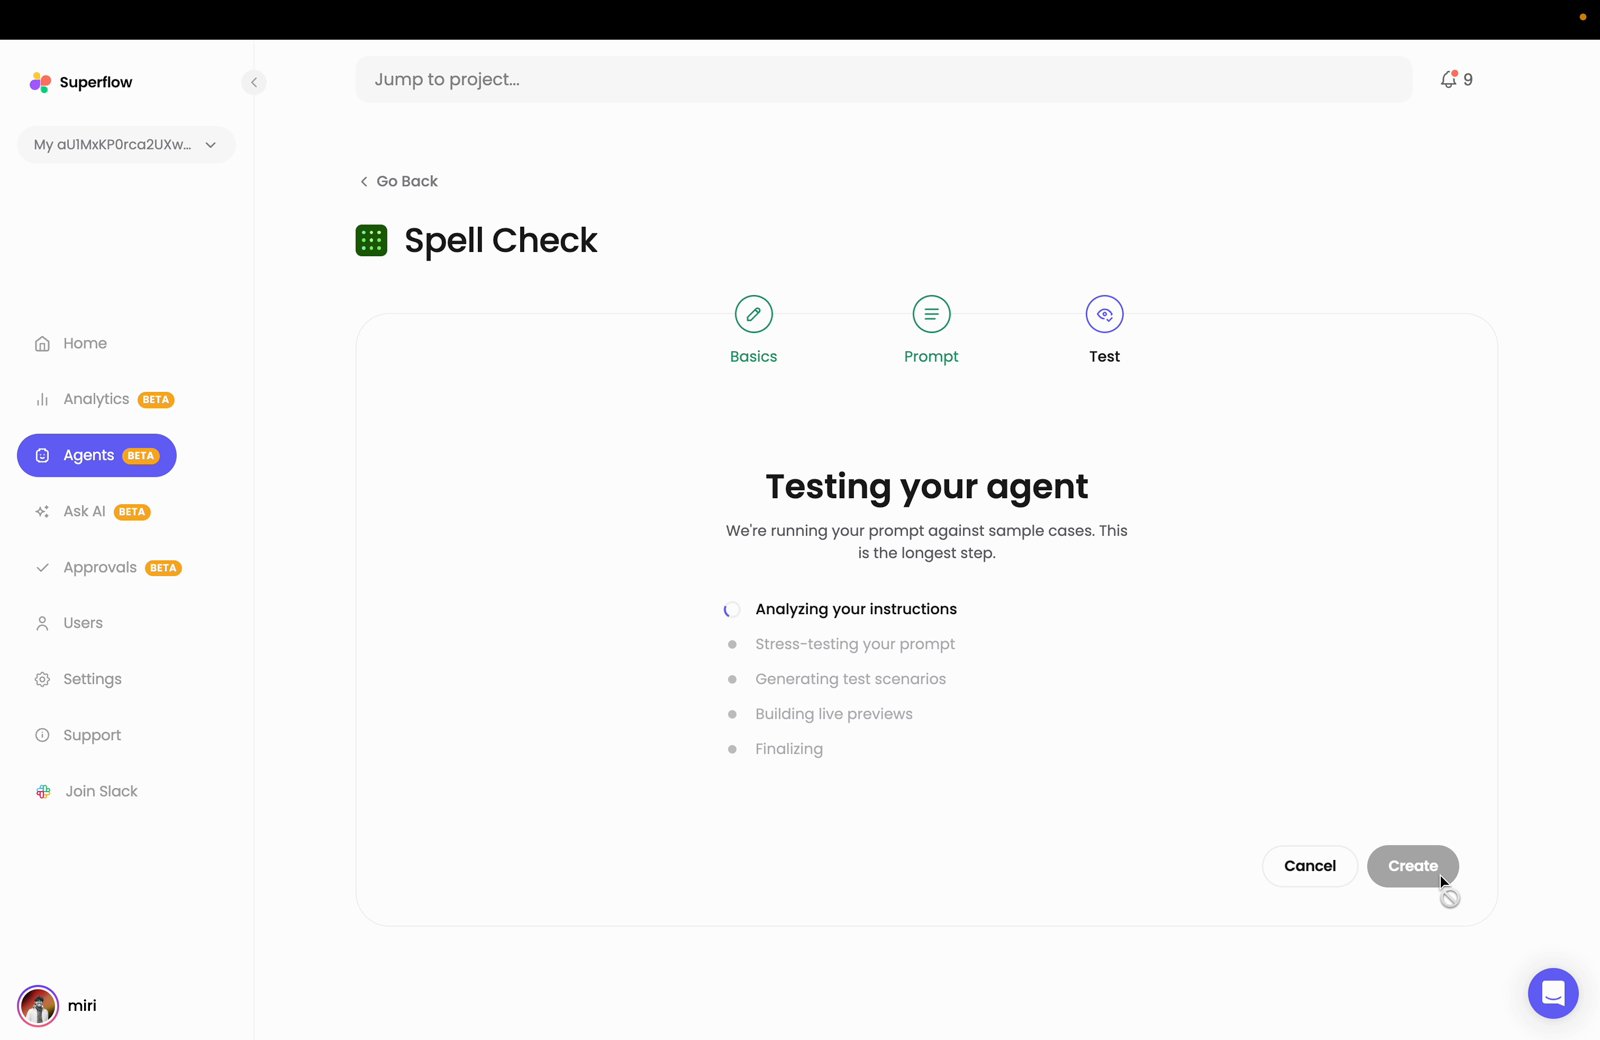
Superflow analyzes your instructions, stress-tests the prompt, generates test scenarios, and builds live previews. This is the longest step, so allow it a moment to finish.
There are two optional controls on this step:
* **Refine prompt** rewrites your instruction into a clearer, more specific version.
* **Questions** lets you click **Add Question** to add questions the agent should ask at run time.
## Reviewing the Test Results
Superflow analyzes your instructions, stress-tests the prompt, generates test scenarios, and builds live previews. This is the longest step, so allow it a moment to finish.
 Click any tab to inspect that scenario. Each one shows a live preview of the sample case, the **Expected Output**, and the **Reason** behind it.
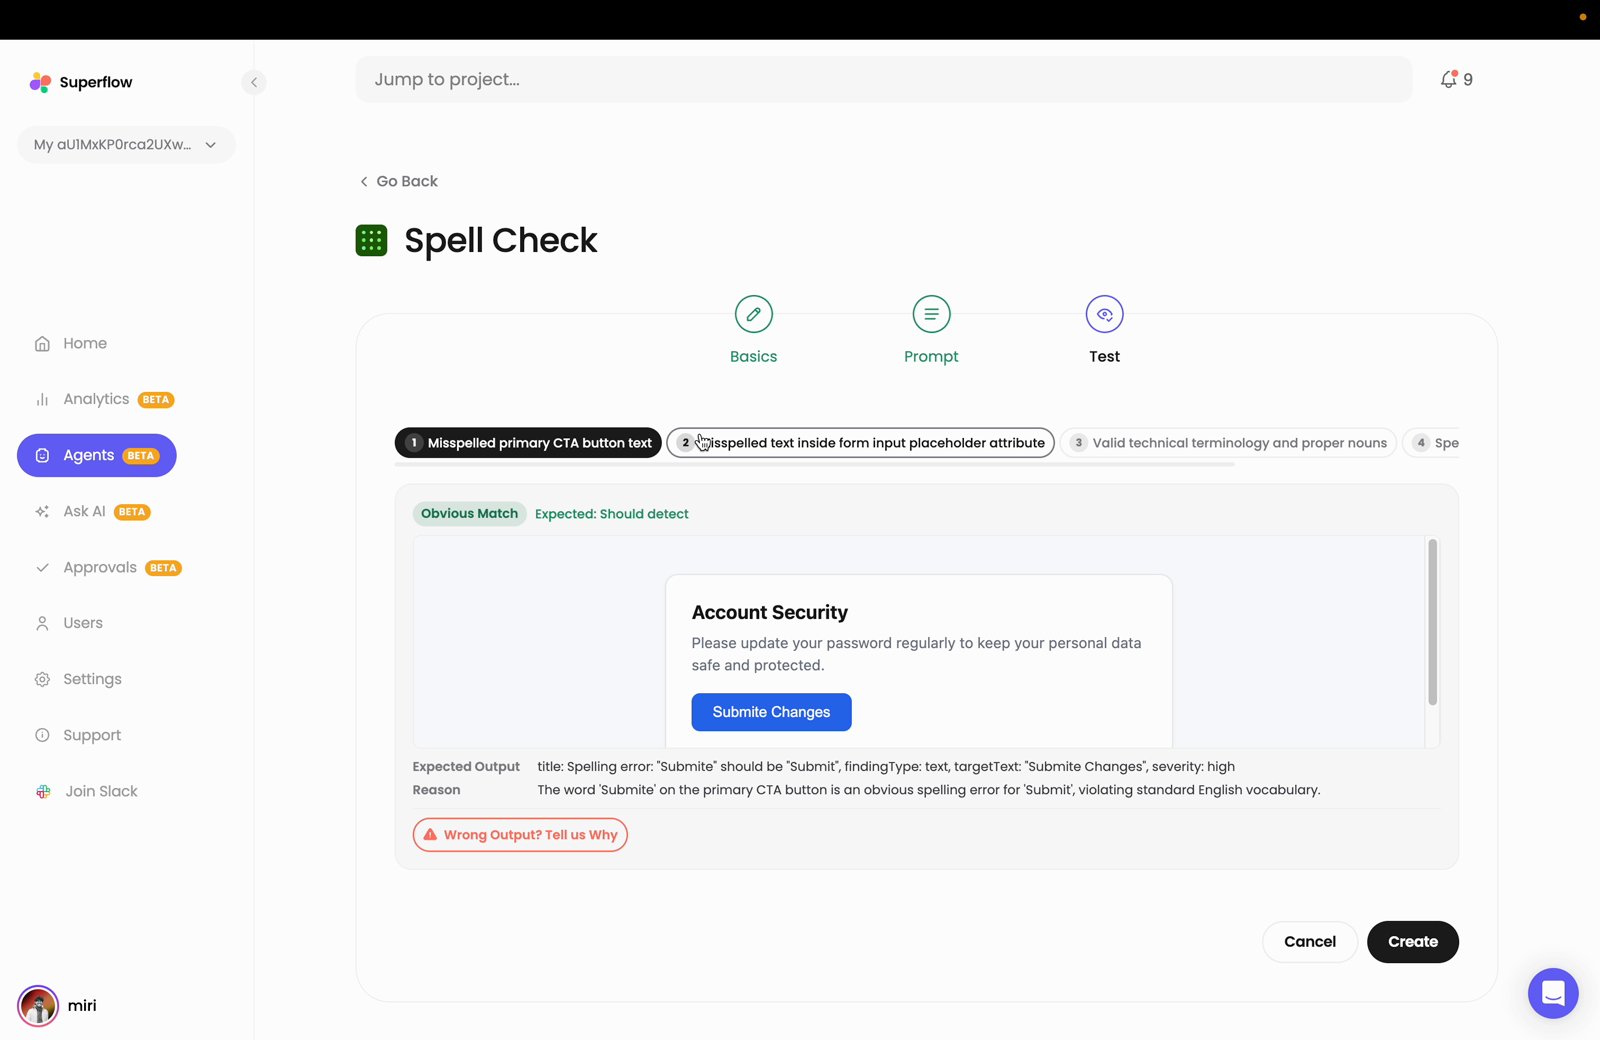 Each scenario is labelled so you can see the kind of case it covers, for example:
| Label | What it means |
| --------------------------- | ----------------------------------------------------------------------------------------- |
| **Obvious Match** | A clear-cut issue the agent should always catch, such as `Submite Changes` on a button. |
| **Subtle Match** | A harder case that is easy to miss, such as a misspelling inside a placeholder attribute. |
| **Expected: Should detect** | The agent is expected to raise a finding for this scenario. |
Reviewing these scenarios is the point of this step. It shows you where your check will succeed and where it may produce a false positive, before the agent runs against real projects.
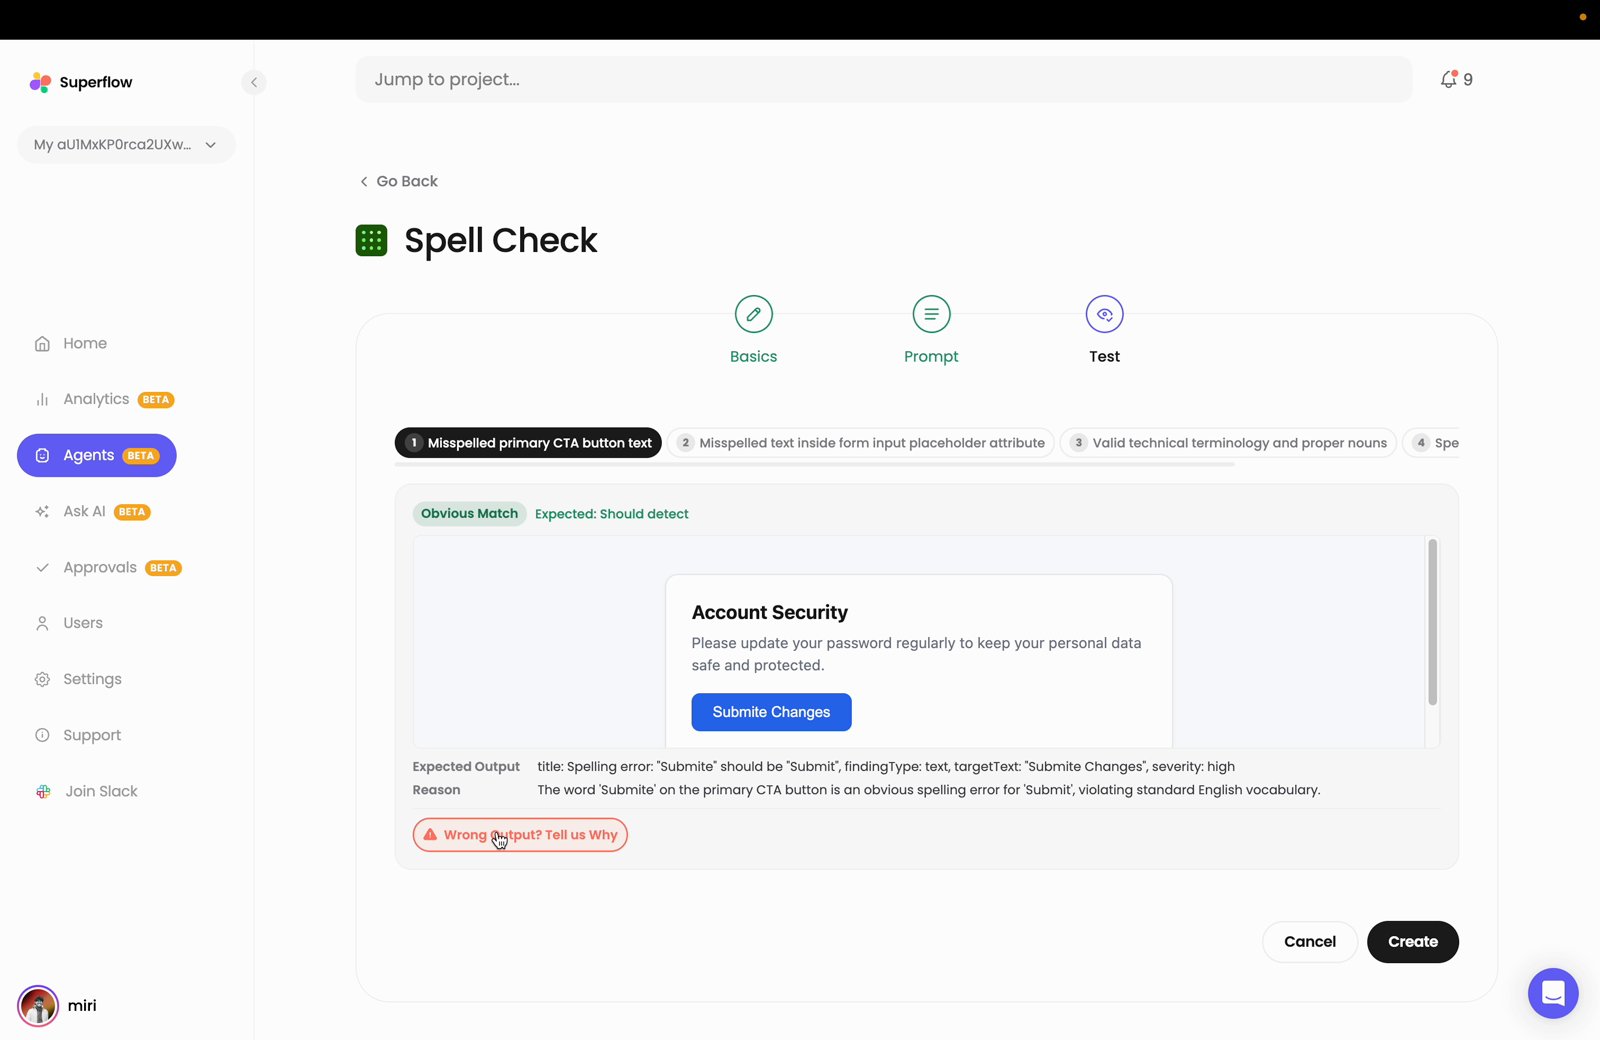
Tell us Why\*\* and explain the problem. Superflow will rebuild the prompt using your feedback and test it again.
Each scenario is labelled so you can see the kind of case it covers, for example:
| Label | What it means |
| --------------------------- | ----------------------------------------------------------------------------------------- |
| **Obvious Match** | A clear-cut issue the agent should always catch, such as `Submite Changes` on a button. |
| **Subtle Match** | A harder case that is easy to miss, such as a misspelling inside a placeholder attribute. |
| **Expected: Should detect** | The agent is expected to raise a finding for this scenario. |
Reviewing these scenarios is the point of this step. It shows you where your check will succeed and where it may produce a false positive, before the agent runs against real projects.
Tell us Why\*\* and explain the problem. Superflow will rebuild the prompt using your feedback and test it again.
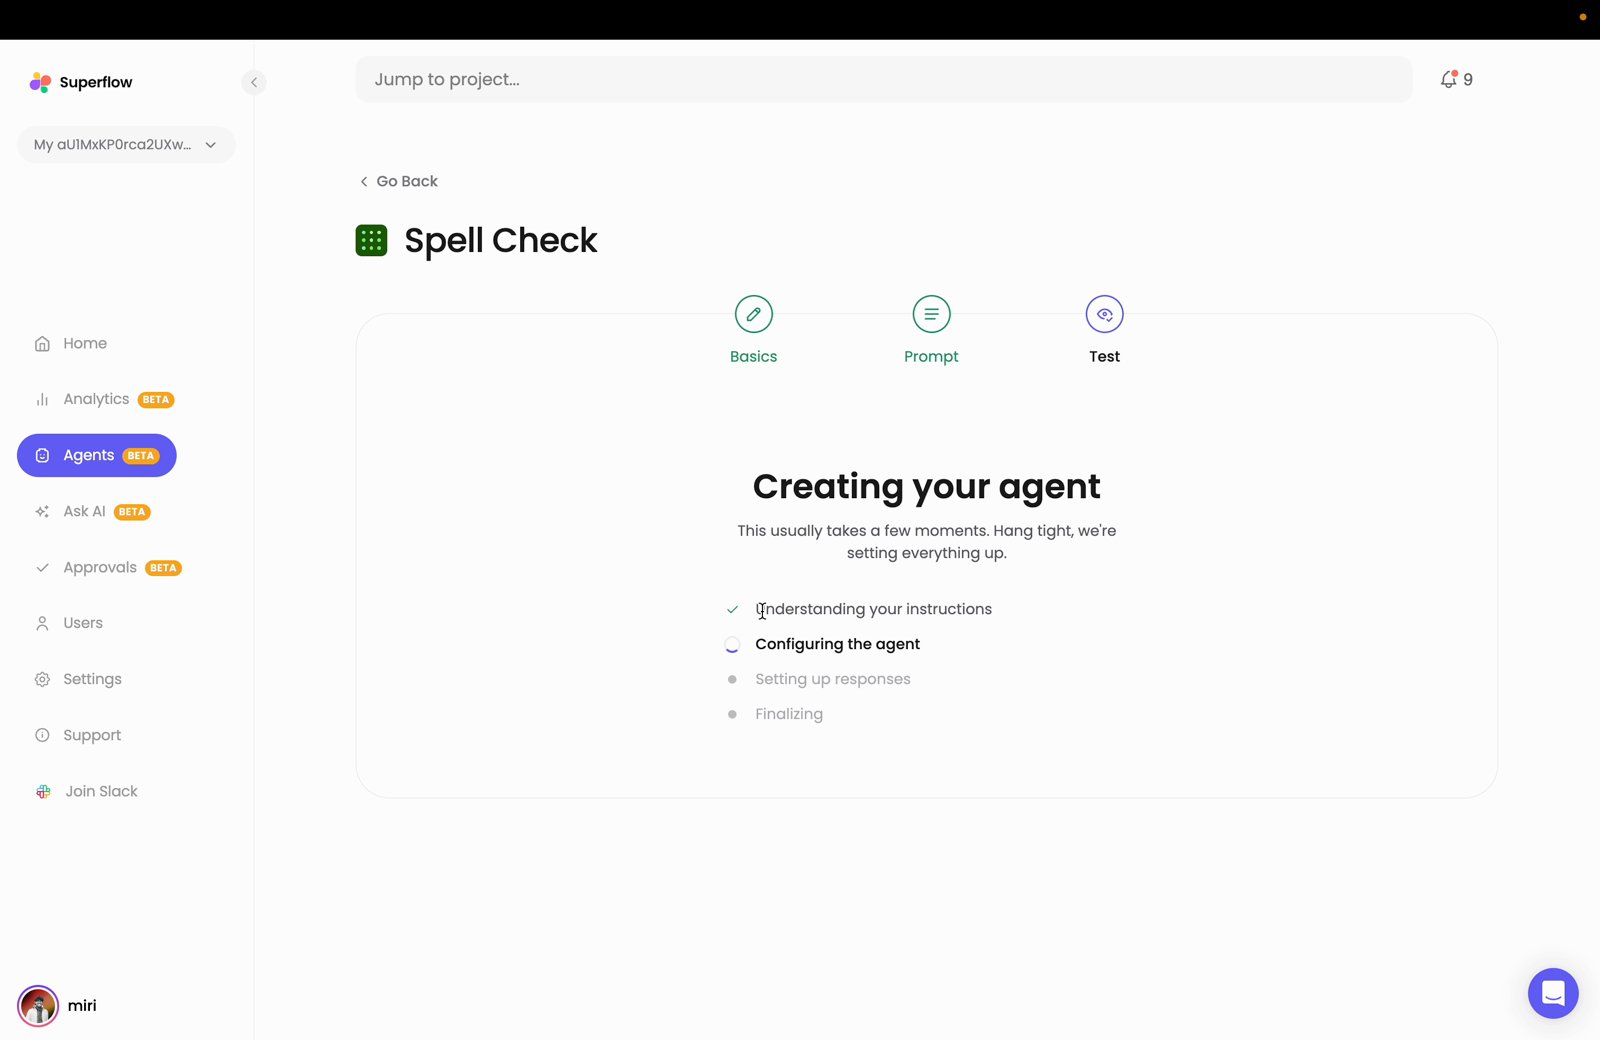
 Superflow will configure the agent and lock in the prompt along with the edge cases it learned during testing.
 ## Next Steps
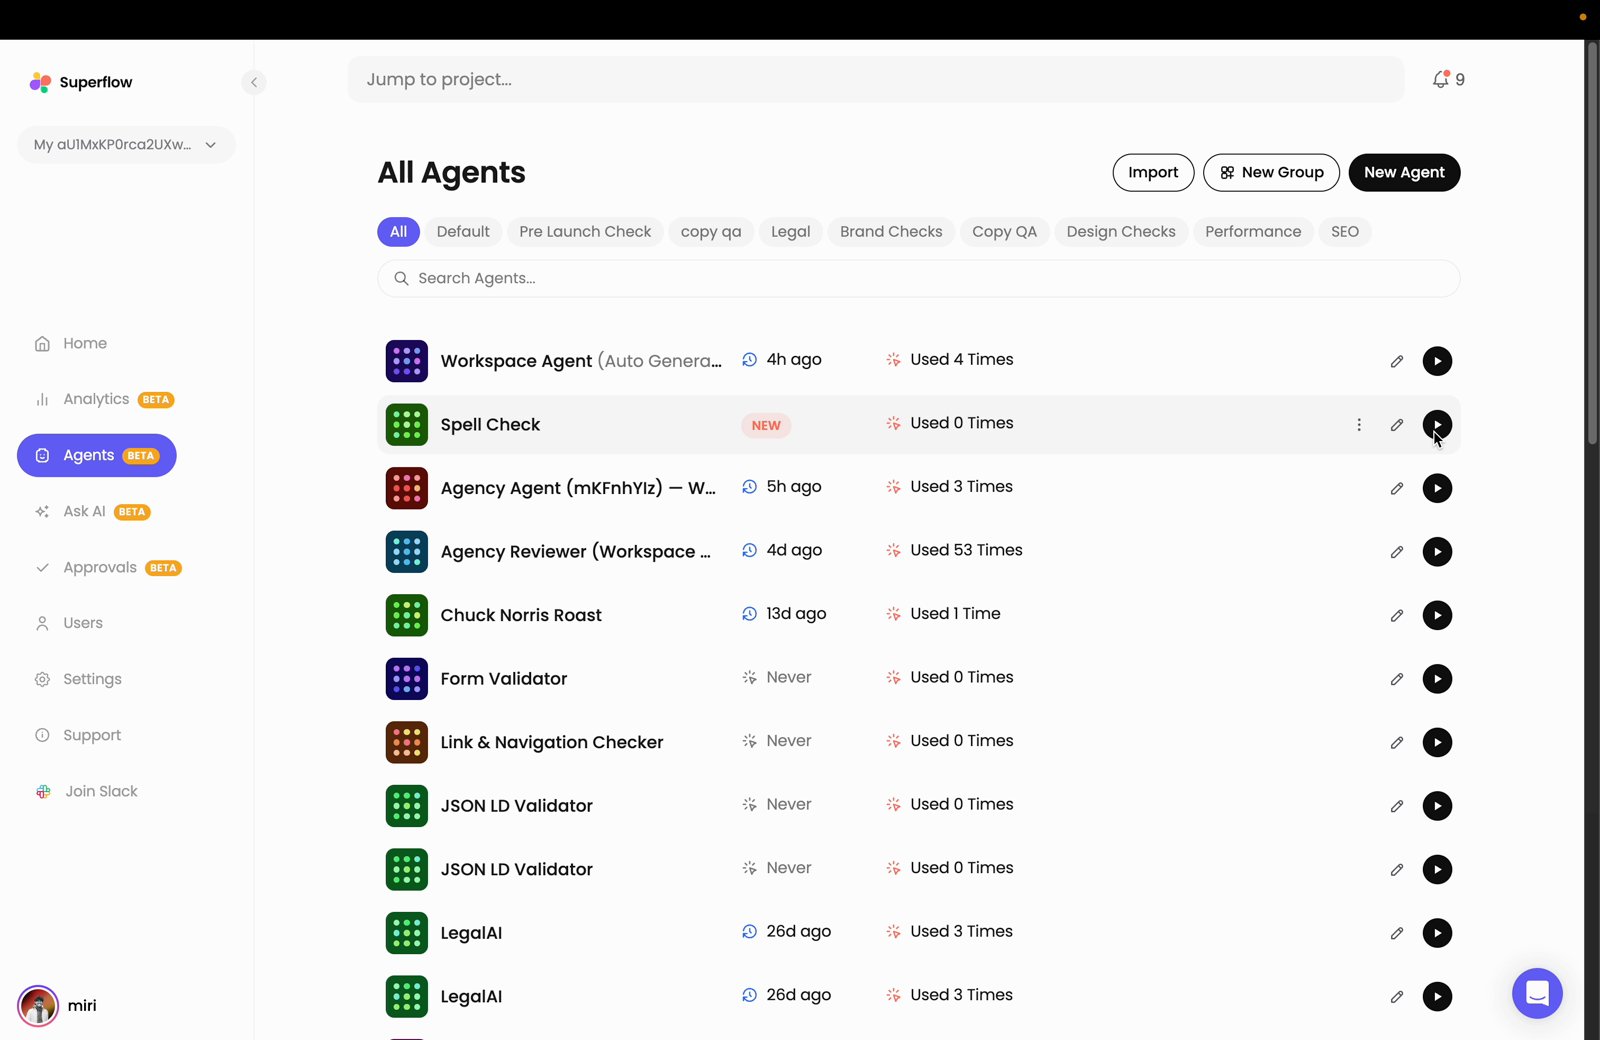
Your agent is ready to use. The next step is to run it against a project and review what it finds.
Run your new agent against a project, choose a device, and review its findings.
## Next Steps
Your agent is ready to use. The next step is to run it against a project and review what it finds.
Run your new agent against a project, choose a device, and review its findings.